Submitting An OOPS Image
Step 1: Log-in to your mymedicalimages account at https://app.mymedicalimages.com/
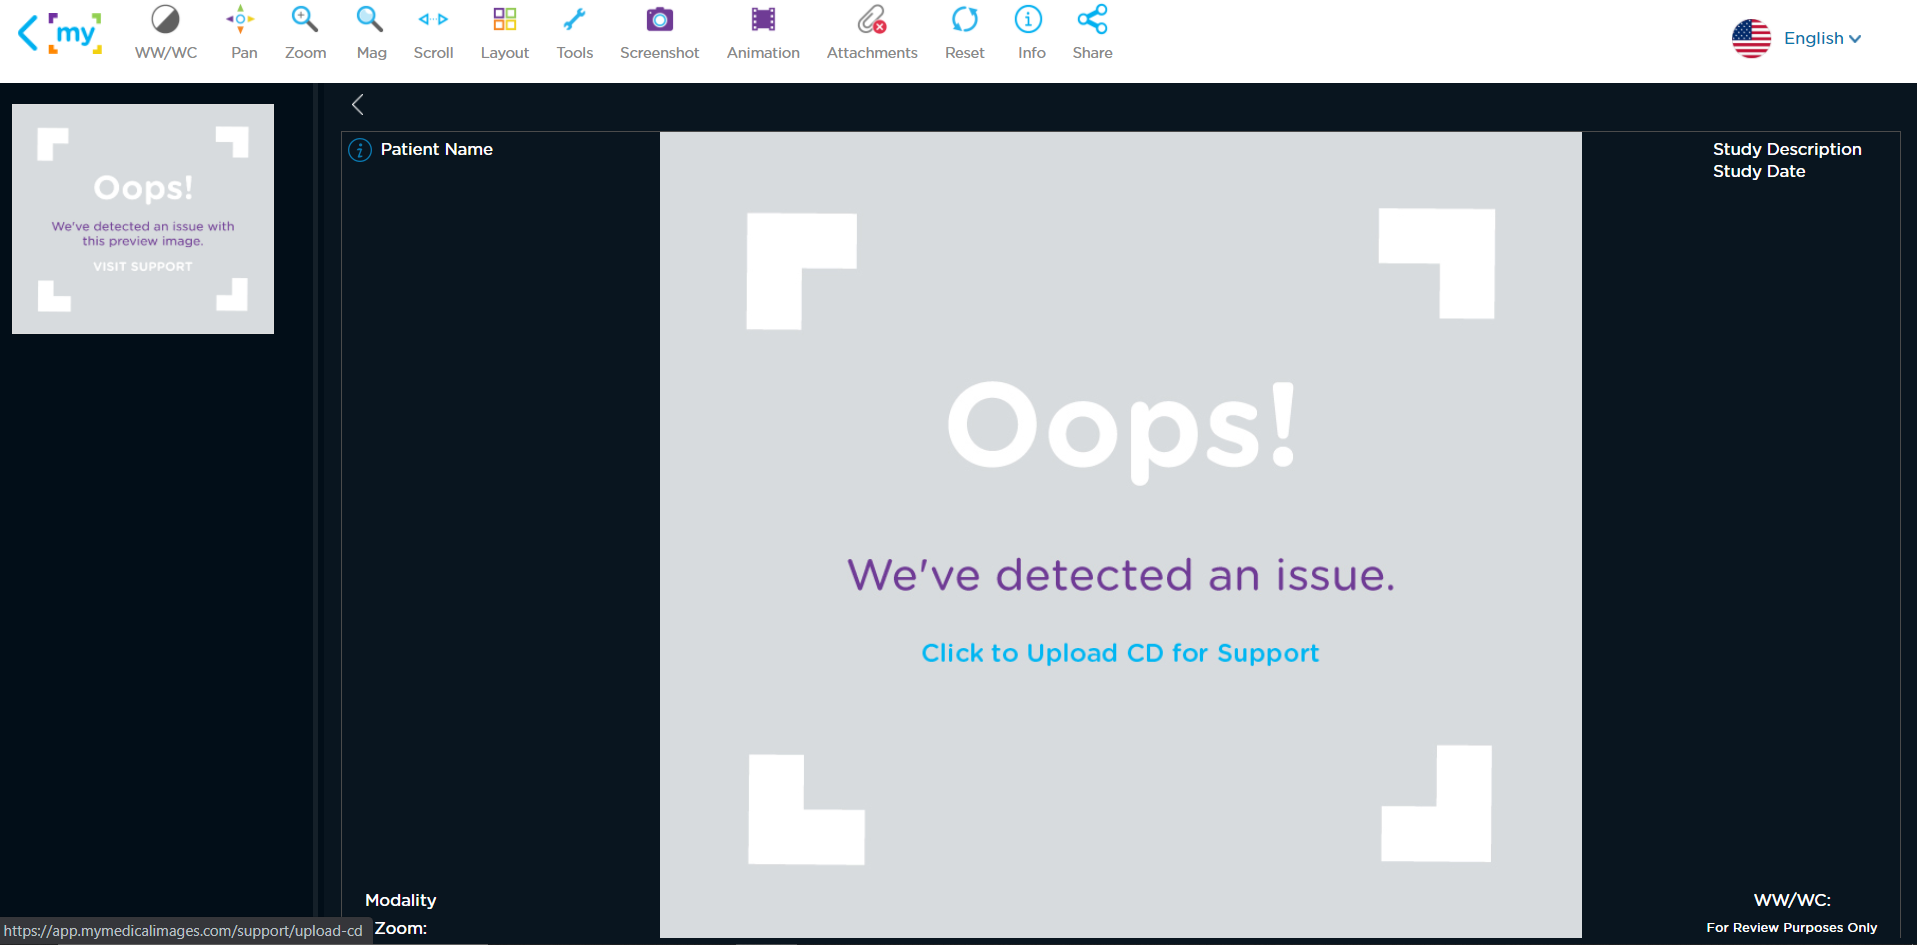
Step 2: Open the OOPS Image in the viewer by clicking on the image preview.

Alternatively, you can open it by clicking on the blue menu icon in the top right-hand corner of the image set and selecting the “View” option.

Step 3: In the viewer, select the OOPs image thumbnail in the bar on the left, then click on the full OOPs image to open a link to the mymedicalimages Troubleshooting Uploader.
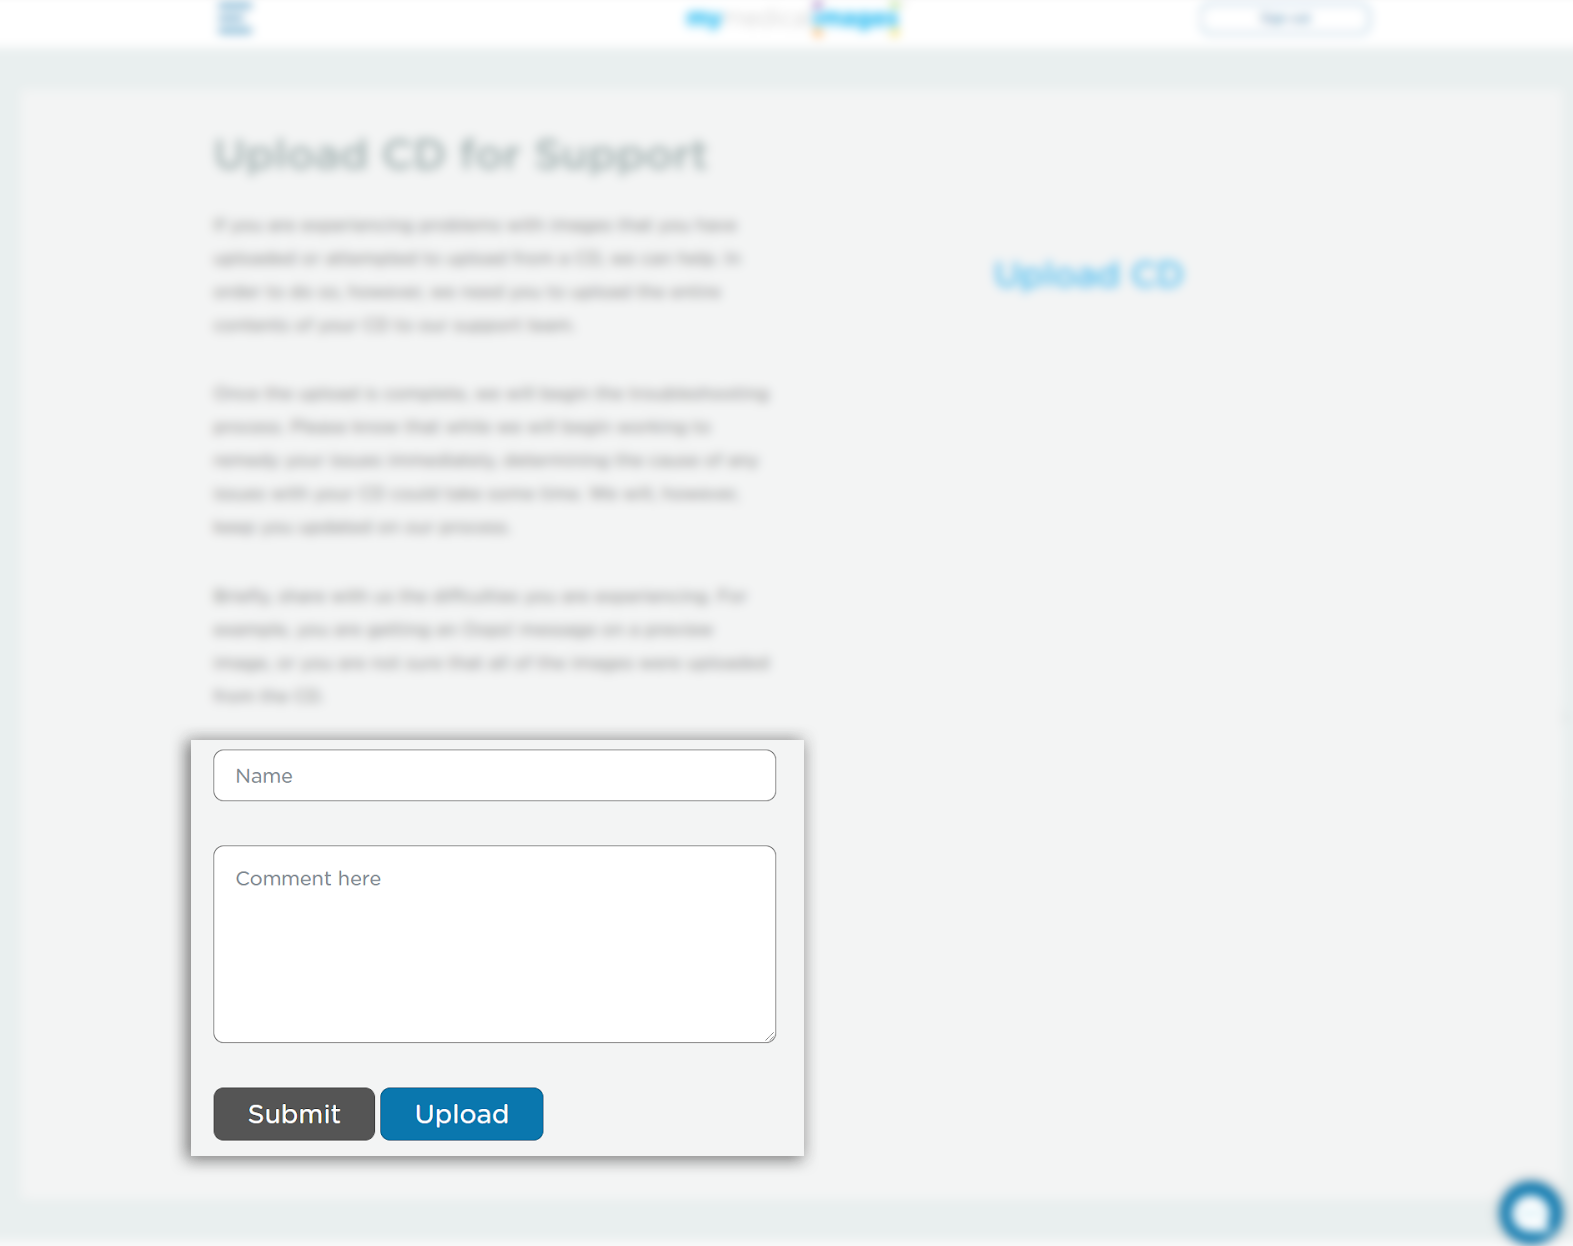
Step 4: In the Text fields provided, fill out your name, as well as a brief description of the error you are encountering, then click on the blue “Upload” button.
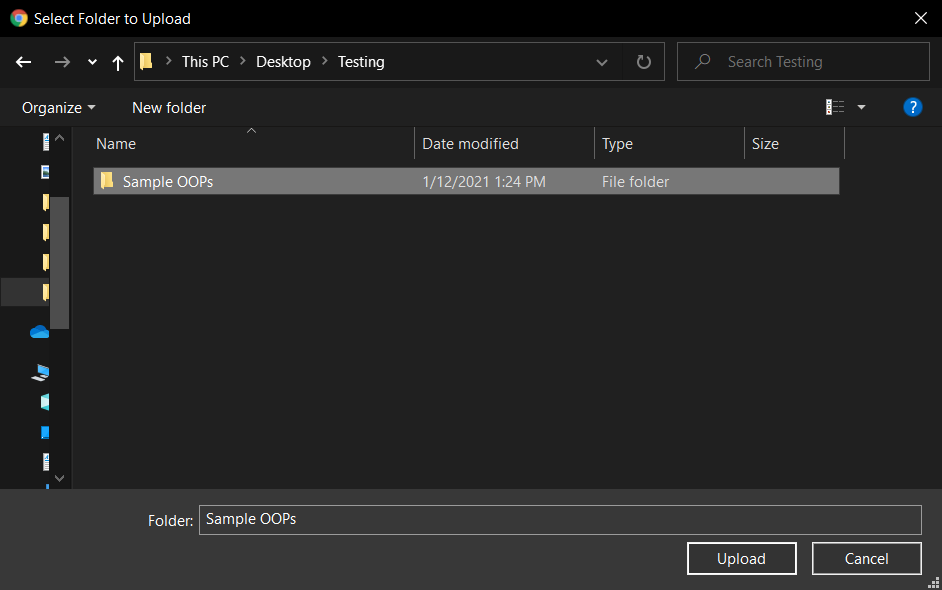
Step 5: Select the folder containing your files, then click on the “Upload” button in the bottom right-hand corner of the window.
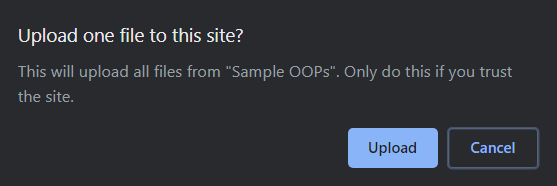
Step 6: In the pop-up window, select the blue “Upload” button to confirm your upload to the mymedicalimages Troubleshooting Uploader.
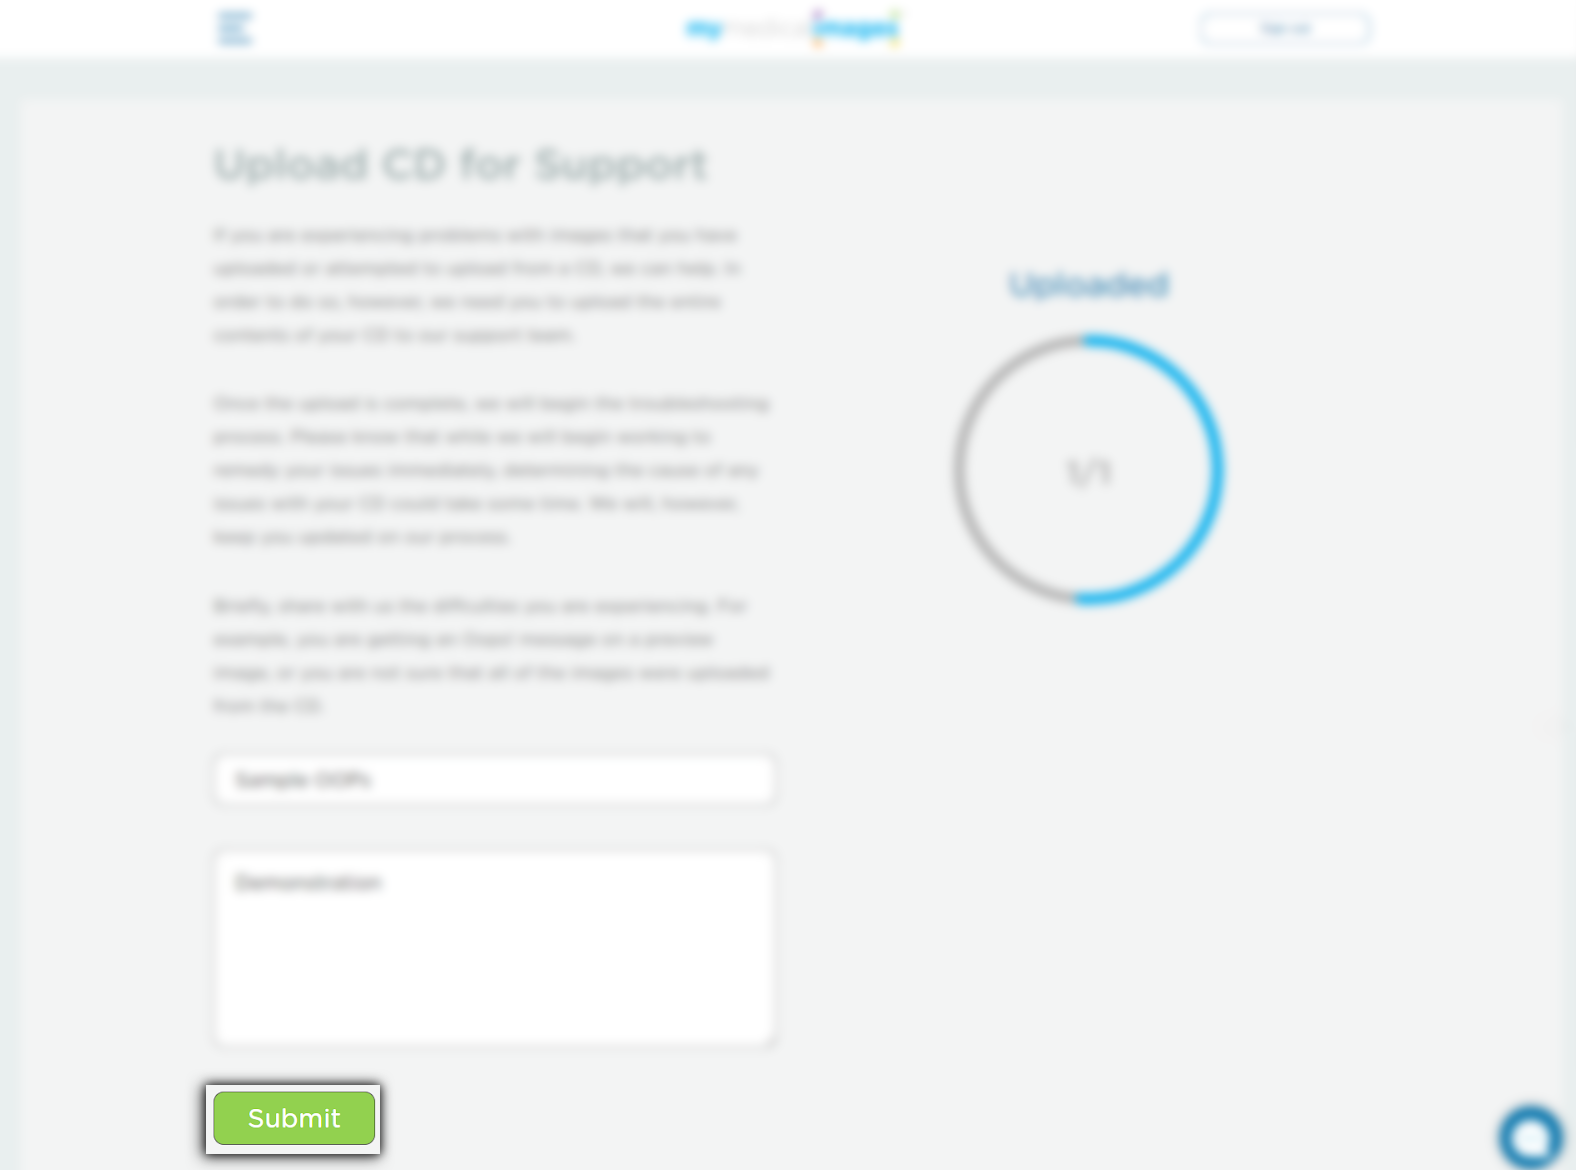
Step 7: Wait for the upload to complete. The time it takes for the files to be uploaded my vary depending on the file size of your upload. Leave the window open and keep your computer connected to the internet during the upload process, otherwise it will not be received properly.
Once the upload has been completed, click on the green “Submit” button.
After clicking on the “Submit” button, you will see that the button will be replaced by the sentence, “CD Successfully Submitted.” Your CD has been sent to the mymedicalimages Support Team, and will be worked on by the first available specialist. Any updates on the progress of your ticket will be sent to you through email.
The time taken to resolve the issue may vary depending on what the cause of the issue is.


